Professional Photographs
Today we would like to teach you some tips for editing professional photography. Why is editing your photography so important? Editing is the final stage in a photo, not a bonus. In today’s world it would be very hard to succeed in the professional photography field without editing your photos. With the increase of technology and software, editing has become a part of the process.
If you yourself are not skilled in editing professional photography, we would suggest outsourcing it. If that is not an option it would definitely benefit you to take some classes. Perhaps online or in school. You can actually find many courses online from places like Adobe, Tuts, Lynda.com, or Photoshop Cafe. Just like anything else, the more you practice the better you become.
We here at Square Shooting have a very specific standard and esthetic to our professional photography, so we do all our own editing in house. We want our professional photography to have a polished and consistent look. However, photo editing has become so readily available to be outsourced, you can find very inexpensive third party vendors if you prefer that approach. Editing can be a very time consuming task, so depending on your business model, both options would work.
Editing Professional Event Photography
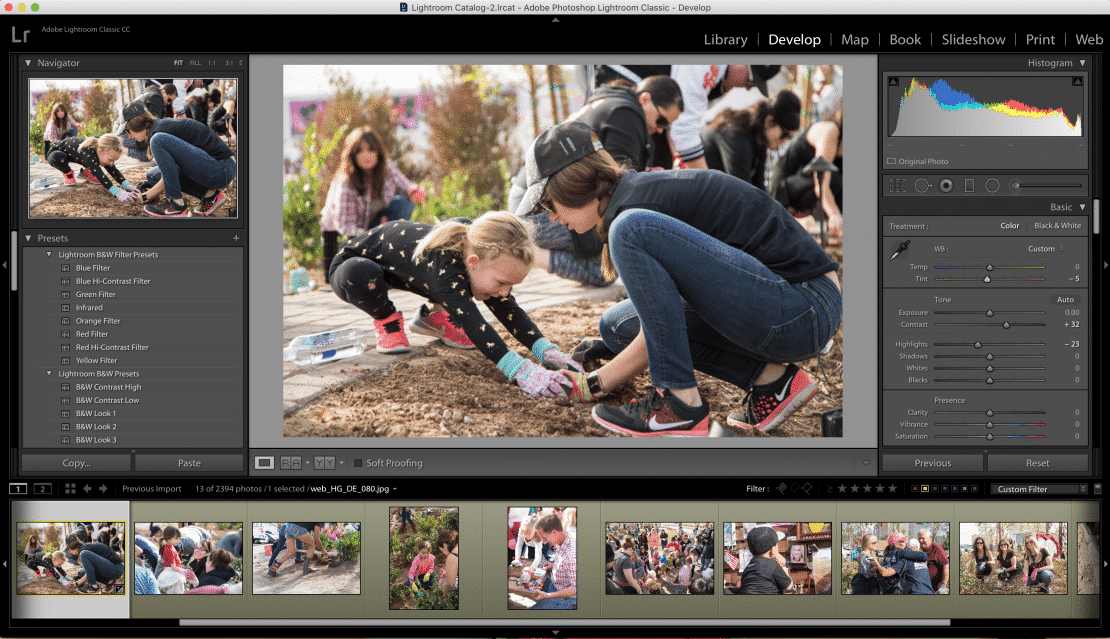
We can start with the most basic of professional photography editing which would be event photography. This kind of photography is generally done with a batch editing software. Our preferred professional photography software for batch editing event photography would be Lightroom. We find Lightroom is very user friendly and is the quickest way for us to edit hundreds of photos. Most professional photography event photography just gets minor adjustments. So using Lightroom, you can quickly adjust exposures and color balance. You can easily remove dust or debris. One of the most helpful tools is the ability to batch edit. For example, if your color balance is just slightly off on a lot of your images. You have the ability to adjust one photo and then apply that adjustment to as many photos as you want. Allowing you to color correct thousands of photos in a couple easy steps.
Should the professional photography be of a wedding, this would fall under event photography batch editing. The exception being that with a wedding you would most likely want to pull some of the highlight moments into Photoshop so that you can apply more of a portrait edit. We do not typically shoot a lot of weddings being commercial photographers, but we are no strangers to batch and portrait editing. Which brings us to our next subject.
Editing Professional Portrait Photography
The first type of professional photography we will address is portrait photography. This is a common area people tend to go a little overboard with when they first start out. The idea is to make your subject look their best, but without looking like you have edited the photo.
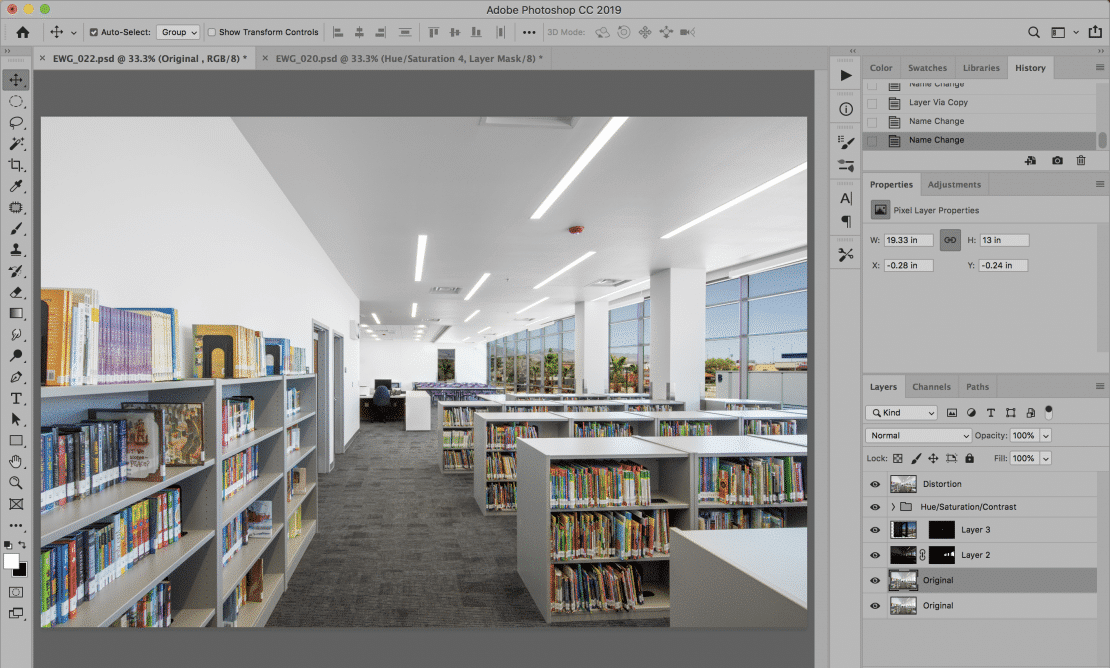
First you will need software to edit your professional photography with. We are big fans of Photoshop for our portrait editing because of the flexibility it allows. With Photoshop there are a hundred ways to achieve the same goal, so we will focus on how we use this software to gain our final results.
The first rule to editing professional photography is to never work directly on the original layer. You should always duplicate the original layer so that if you go too far you can pull back what you have done. With professional photography it is important to work on an image without being deconstructive. You should always keep a copy of the original.
We like to first start on the skin when editing professional portrait photography. We generally use the clone stamp to get rid of any blemishes and imperfections on the skin. You will want to make sure if it is a beauty mark, birthmark, or something unique to the subject that you do not edit it out. If you find you have edited the professional portrait photography a little too much and it begins to look fake, you can pull back the opacity of the layer to reduce the amount of editing.
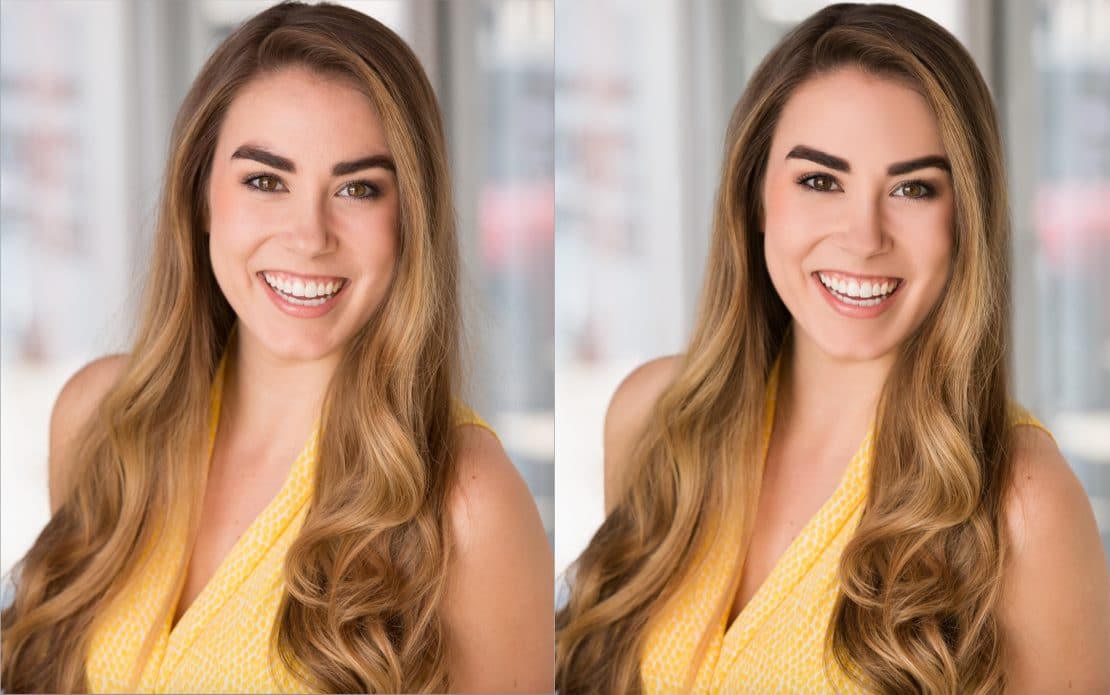
Example of original portrait and edited portrait.
Another common edit on a professional portrait photography would be whitening the eyes and teeth. As mentioned before there are hundreds of ways to do this in photoshop, we generally use a saturation layer to make this adjustment. You can use a mask to paint in the areas that you want to effect. You can also use brightness or levels to adjust the brightness of the teeth and eyes to make them pop more.
I think the last major edit we would make to a professional portrait would be a little tuck here and there. This should not be dramatic, but help to slim down the subject. For this we would make sure to once again be on another layer so we don’t harm the original file and use the liquify tool. Just like all the other editing we have done, it’s imperative to not go too far with this. In an attempt to make someone look their best, you want to make sure you don’t go too far and make them unrecognizable. This will serve no benefit to the subject and you could potentially offend the subject.
Editing Professional Architectural Photography
Another type of photography we would like to discuss regarding editing is architectural photography. This type of professional photography is much different from portrait photography. Architectural photography is also much more reliant on the professional photographer who captures the photography. Because there are such vast types of architectural photography, we will just be focusing on an HDR style of editing professional architectural photography.
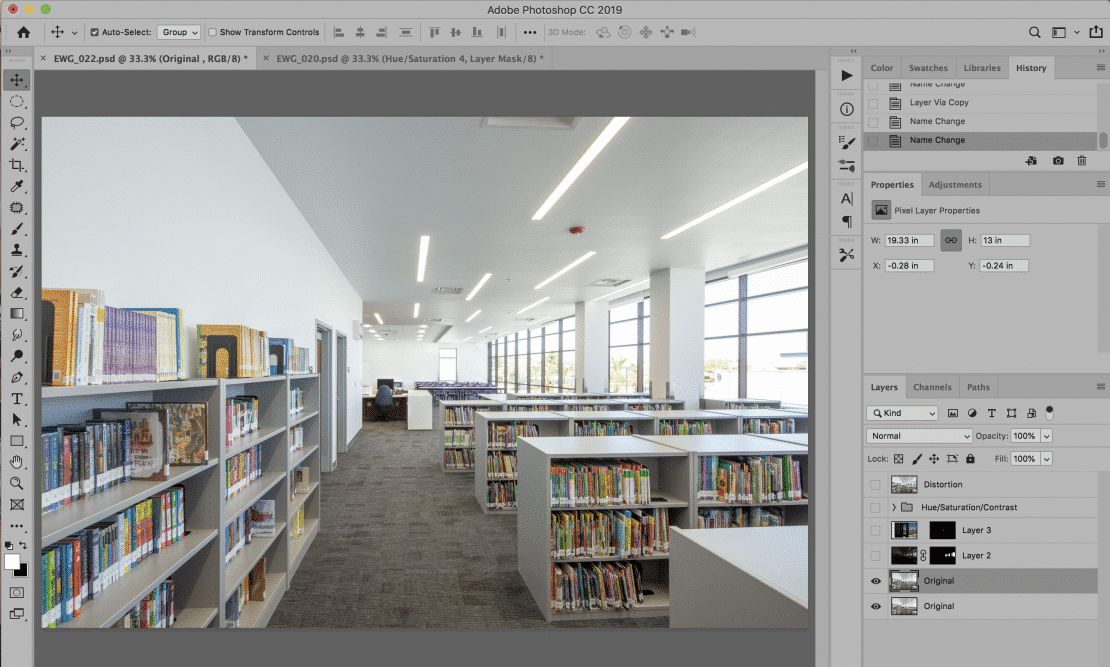
First, after the professional photographer has shot multiple levels and exposures, you want to color correct the images is needed. Then layer all these images together with the most accurate exposure as the bottom level. Then you will use layer masks to brighten up shadows, or to darken down the highlights. Perhaps drop in a window if there are windows in the space.
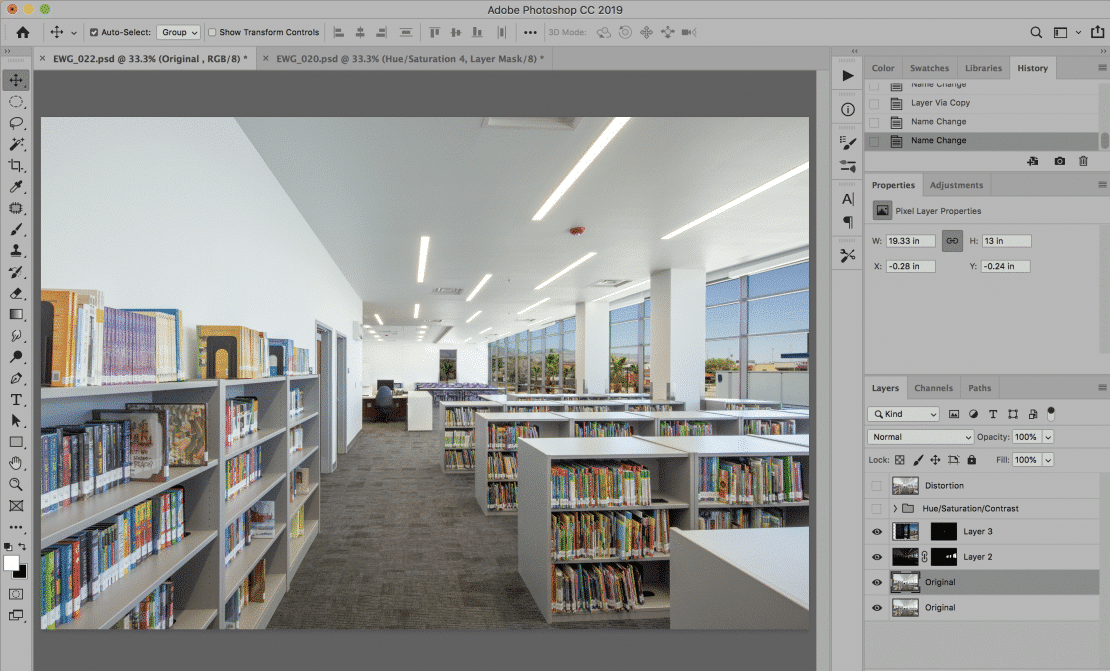
Once you have an image with correct exposure, you would want to remove anything that is distracting. For example electrical cords, wires, or other debris on the ground. Then your final step would be to correct any distortion. You can either use free transform or use lens correction to make adjustments to the architectural photography.
