Tips for the Professional Photographer
This collection of group portrait tips for the professional photographer is our way of helping out other photographers facing this challenge. Sure, posing just one person for a portrait can sometimes be tricky. Learning to pose one or two people can be done without too much trouble. What if there is a group of people that need to be photographed together? What do you do when you have four, or five, or even twenty people to capture? We’re here to help with these Group Portrait Tips for the Professional Photographer.
Types of Groups
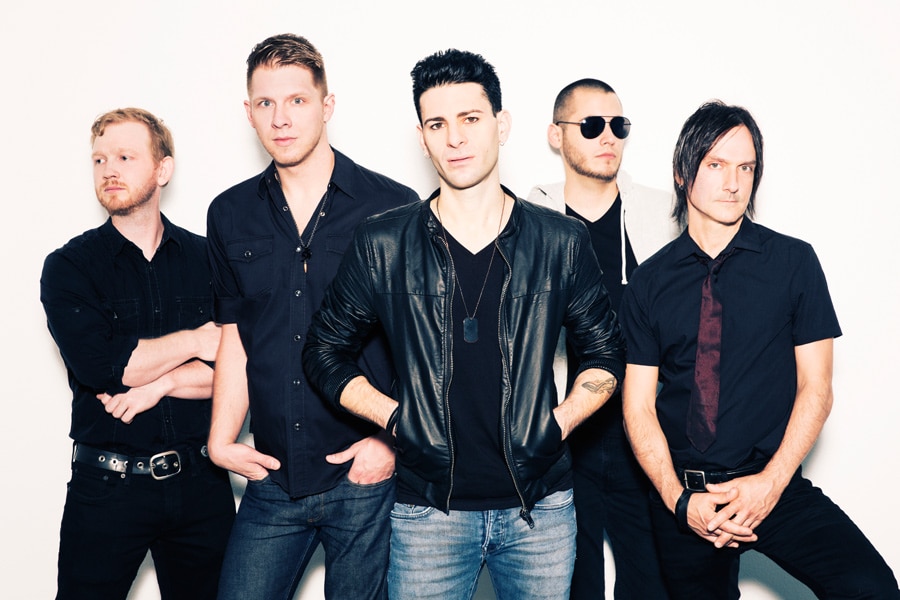
First, let’s take a look at the different types of groups you may encounter as a professional photographer. There are all kinds of reasons that people form groups. Perhaps a group is a band that needs publicity photos. Maybe you have a social club that wants to show off their numbers. Perhaps the group is a business like a law firm or doctor’s office. As a professional photographer, we’ve been lucky enough to capture all kinds of different groups looking for a group portrait.
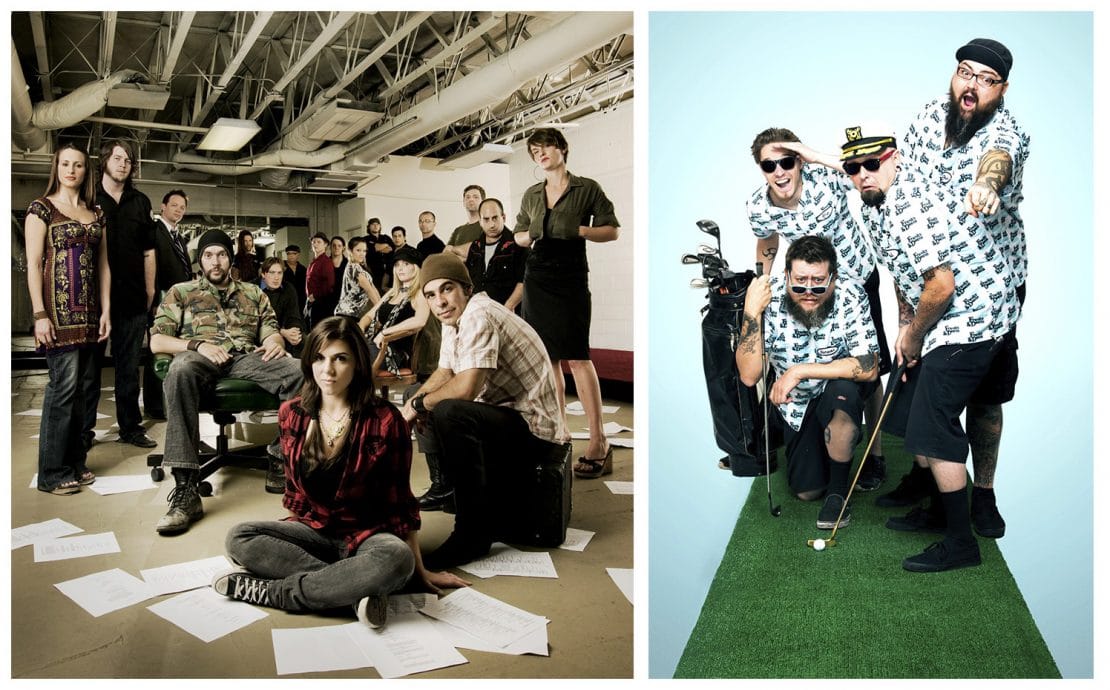 Different sizes of groups a photographer may encounter.
For us, capturing a group portrait is very fun. Creatively, it’s a challenge that we really enjoy taking on. And the more people we have to fit into our image, the more exciting the project. We’ve photographed groups of all sizes and shapes. From executive boards to musicians. We’ve captured theater groups and banking employees. Anytime we have a group portrait on our schedule, we are eager to make it happen.
People are usually more comfortable in groups. Especially when they are having their photo taken. The idea of standing in front of a camera can make some people nervous. And lot of times they are not certain how to pose for their portrait. We provided some tips on this topic in a previous blog, Posing Tips for the Professional Photographer. With group portraits, people tend to be more relaxed. They are with their friends or co workers and are a little less shy. This group energy can definitely make the photographers job a little easier. However there are all new challenges for group portrait. So let’s discuss the first of our group portrait tips for the professional photographer.
Know Before You Go
As with many elements of professional photography, the more you know in advance, the better prepared you can be. This is especially true when taking on a group portrait photography project. The first important thing that needs to be considered is how many people will be in the group. Is this a small group of four or five? Or is it a group portrait that will feature many more than that? This fact can really direct what steps you will need to take for the group portrait.
Another very important key element is where will the group portrait take place. Of course, this is directly effected by how many people are going to be in the photograph. If it’s a smaller group, then the options for photography location are pretty much open. If the small group is looking to do the shoot indoors, then you’ll just need a room big enough for them and your photography lighting. Typically a conference room or main living area will be the right size. However, if the group is a larger one, you’ll likely need to move the shoot outdoors. Or have a very large room like a warehouse or industrial garage. Lets go over a few points between indoor and outdoor environments in this group portrait tips for the professional photographer
Indoor vs Outdoor
One of the advantages of capturing your group portrait indoors is more control of the light on your subjects. Also, by photographing indoors, you won’t have to worry about weather conditions. Outdoors could have strong sunshine, which is not always the most flattering. Plus, if the subjects of the group portrait are in the sun, they might have to squint. Having people with closed eyes does not make for a good group portrait. Neither does having hair styles mixed up from high winds.
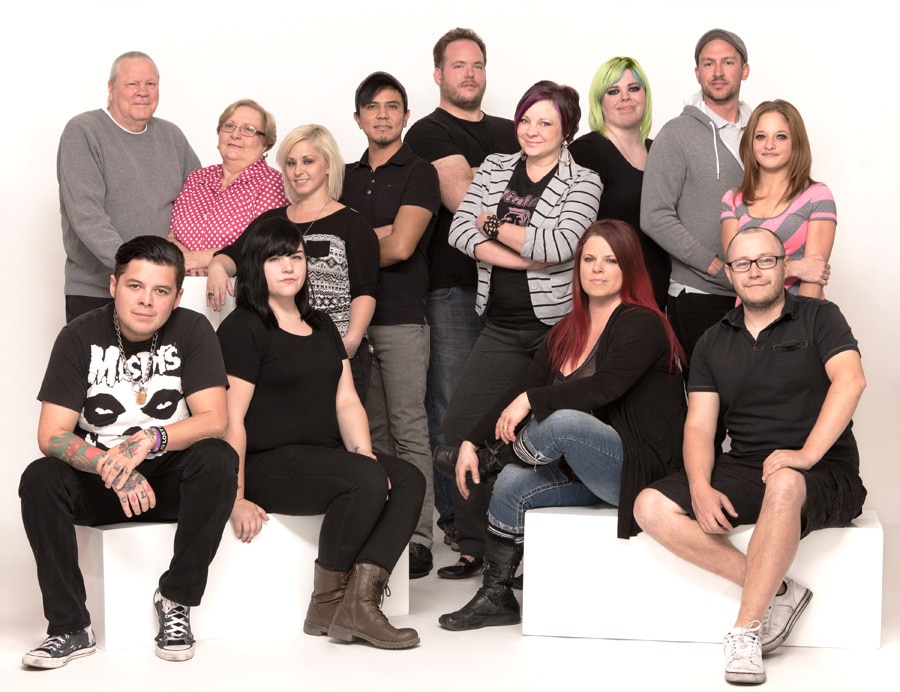
If the group is large and the available indoor space just won’t be suitable to fit everyone, there are ways to work outdoors. First, scout the location that the group would like their portrait taken at in advance. Many times an executive group would like to have their portrait captured in front of their office building. Visit the site and determine what direction the office faces and how the sun will travel during the day. Ideally, you want to find a time where there is the most shade available for your group to stand in for the photo. Shade helps keep squinting to a minimum and avoids harsh shadows on the face. We recommend planning the shoot for just after sunrise or just before sunset for the most shade possible.

Of course, this isn’t just for large group portraits. Smaller groups can also be captured outside if that’s the look the client wants. Outdoor environments can add great color and texture to your group portrait. Just make sure the setting fits what the client wants to convey. Let’s take a closer look at the two major types of group portraits that a professional photographer will encounter.
Creative Groups and Professional Groups
The look that a band will want for their group portrait will likely be different than a group of business professionals. Creative groups typically want to show off their wild side, while executives will want to look approachable and dignified. While these are just two types of groups, most will fall into one of these categories. Consider how your location and posing of these types of groups will convey these two different messages. Boardrooms and office environments are great for professionals and executive groups. Street scenes and dramatic architecture angles make for great backdrops when capturing creative groups. Of course, wardrobe plays a major part in conveying their message as well, so make sure your subjects understand that before the shoot.

Everyone is in the Group Portrait
The most important of our group portrait tips for the professional photographer is to make sure everyone is in the photo. This might seem obvious, but it can be tricky. The larger the group of people, the more challenging this can be. It’s vital to make sure no one’s face is being blocked by the person in front of them. The more separation you can get between people, the better your group portrait will be. Make sure you don’t have one person’s head just floating between people’s shoulders. This gives a three headed monster feel which is not flattering for any of the three people.
Create separation by having the back of the group take a step backwards. Or, spread the people out across your scene. While it might feel unnatural to some, this extra room helps provide the separation you are looking for. Also, this will not appear odd in the photo and gives each person their own space. Likewise, move the front people just enough so that they are not casting any shadows on the person behind them.
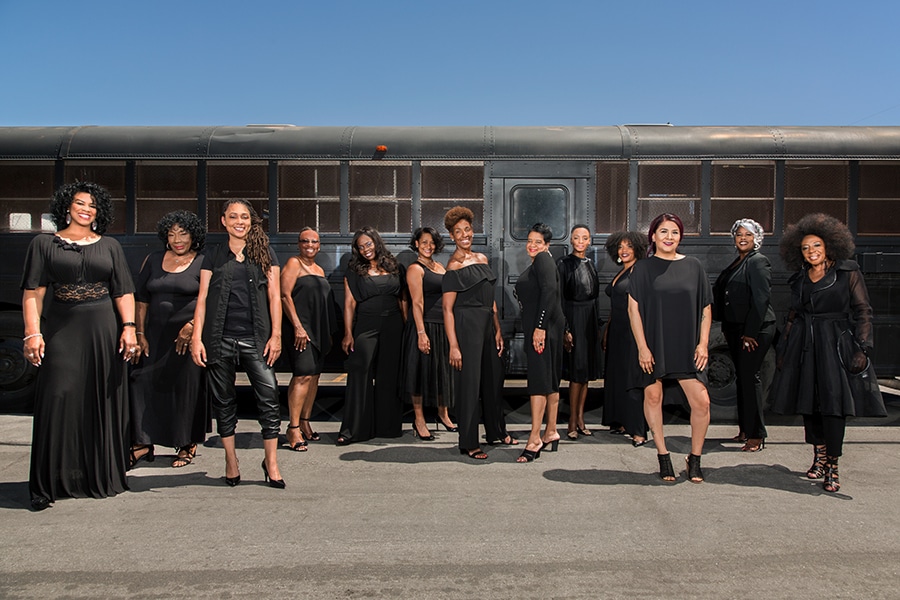 Group Portrait Tips for the Professional Photographer
Get Above the Crowd
If the group is a particularly large one, it might be impossible to see everyone. With your camera at eye level and the group tightly together, some faces may get blocked by other subjects in the photo. The best way to still get everyone in the group portrait in this situation is to raise your camera up high. Get a ladder and bring yourself well above the group. This elevated position helps bring everyone into sight in your photograph. Having the group spread out slightly will also help from this view. Make sure everyone raises their faces up to the lens so you don’t just see the tops of their heads. For big groups, this group portrait tips for the professional photographer stands above the rest!
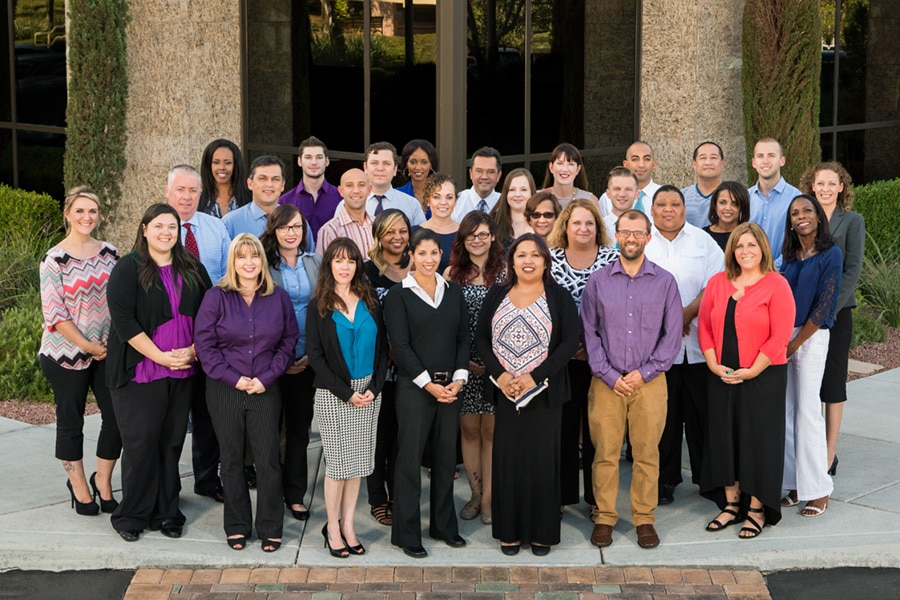 Group portrait captured from above using a ladder in open shade
Who is a Key Person?
Sure, the group portrait is about the group and everyone in the photo is valuable. But with any group, there is always a key person. This can be the head of the law firm, the president of the bank, or the lead singer of the band. Placement of this key person can help let the viewer of the group portrait understand their importance. Place this person in the front, not necessarily in the center of the group, but separated just enough. This gives them a sense of leadership and authority. It’s still a group portrait and everyone is seen, but the star of the show shines just a little more than the rest.

Make Levels
To add some visual interest in your group portrait, levels are the key! By changing the heights of certain people over others, you are adding an artistic touch. Of course, the taller people should naturally be in the back of the group. And the shorter people should be in the front. However, if there are chairs, tables, stairs, or other objects, bring them into the scene. This will allow some people to sit, lean or stand on or next to these items. This helps with the separation of bodies to make sure everyone is seen. Also, this allows for different posing options as well. This creation of levels makes the viewer’s eye naturally flow around the image and take in everyone’s face and charm. This may be our favorite of these group portrait tips for the professional photographer.

Putting it All Together
In conclusion, we hope these group portrait tips for the professional photographer have been helpful. There’s no reason to be nervous about capturing more than three people. Be creative and have fun with your groups. Take control and be bold so that everyone hears your instructions. They all want to be there and have the best group portrait possible. But they can’t see what you see from your camera. So give them the tips they need to have a fantastic group portrait they can be proud to show off.
But of course, don’t just take our word for it. If you’d like to see more about group portrait tips for the professional photographer, take a look at the links below.
http://www.canva.com/learn/7-photography-tips-big-groups/

