
Cell Phone Photography
Everyone is a photographer nowadays, but here are some professional photography tips to help your cell phone photography look more professional. We all have a camera on our phone and in all honesty, they are pretty impressive. We make our living as professional photographers in Las Vegas, and we only take our phone cameras on most vacations. They are so convenient and seem to get more impressive by the day. So we wanted to give you a few professional photography tips on how to make your photography look like a professional photographer snapped it.
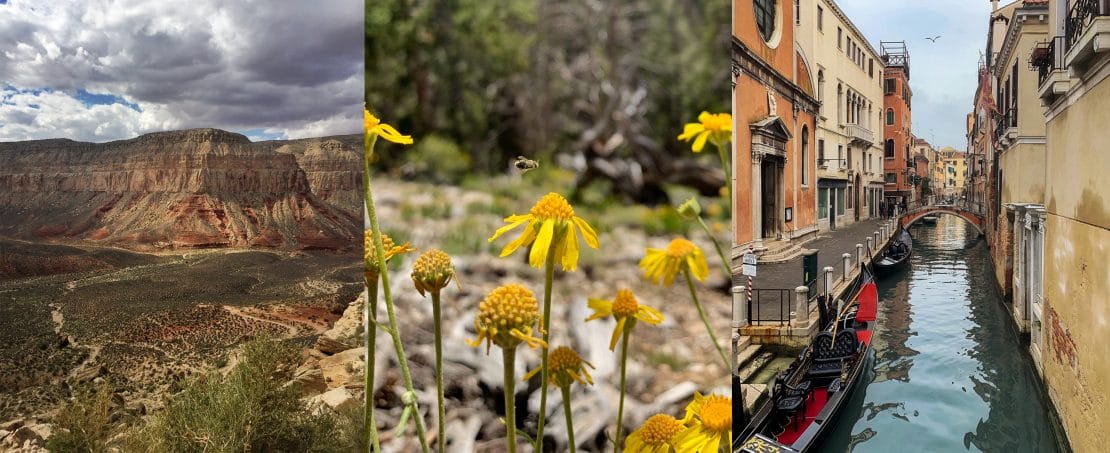
All photos captured on iPhone.
Professional Photography Tips for Capture
Let’s start with the first step in your photography process, the capture. Most amateurs just aim their camera phone in the direction of the subject they are trying to capture and start snapping. Our professional photography tip to achieve a more professional look, be aware of leading lines. A professional photography tip would be to try and keep your camera as straight as possible. Try not to have it tipped up or down or side to side. This will help remove distortion from your image like the sample below.
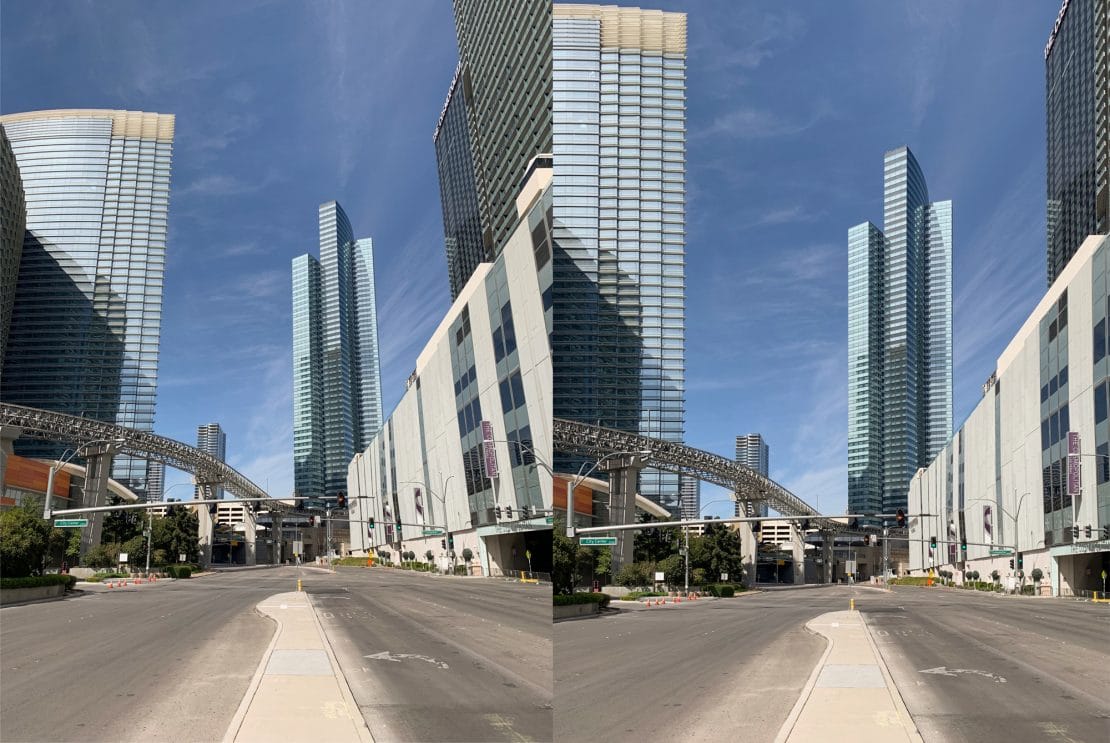
Example of image with distortion and without distortion.
Now there are definitely times that this will not be a possibility for your photography. For example if you are trying to take a picture of the stratosphere from very close, you would not be able to capture the image without tilting your camera up. In this case as a professional photography tip, we think you have two ways to step up your capture. You embrace the distortion and create an arty view. You can use the composition to elevate your photography and give your image a more artistic look. Or you can make minor adjustments in post.
But I don’t own photoshop, how can I edit the distortion out of my image? You can do that right on your phone as well. There are so many free and inexpensive apps available, you should have no trouble finding one that suits your needs. We are big fans of Snapseed, but Vsco, Adobe Photoshop Express, Lightroom, Pixlr, Camera+, are also some of the many options we have heard good things about.
Snapseed has a setting called perspective in their tools. Using the Tilt function is generally the fastest way we know to get rid of distortion in an image. Using your finger you can drag the arrows right or left, as well as up and down to correct the distortion. This will help your cell phone photography look more like professional photography than just a quick cell phone snap.
Example of image with distortion and without distortion.
Professional Photography Tip for Editing Apps on the Phone
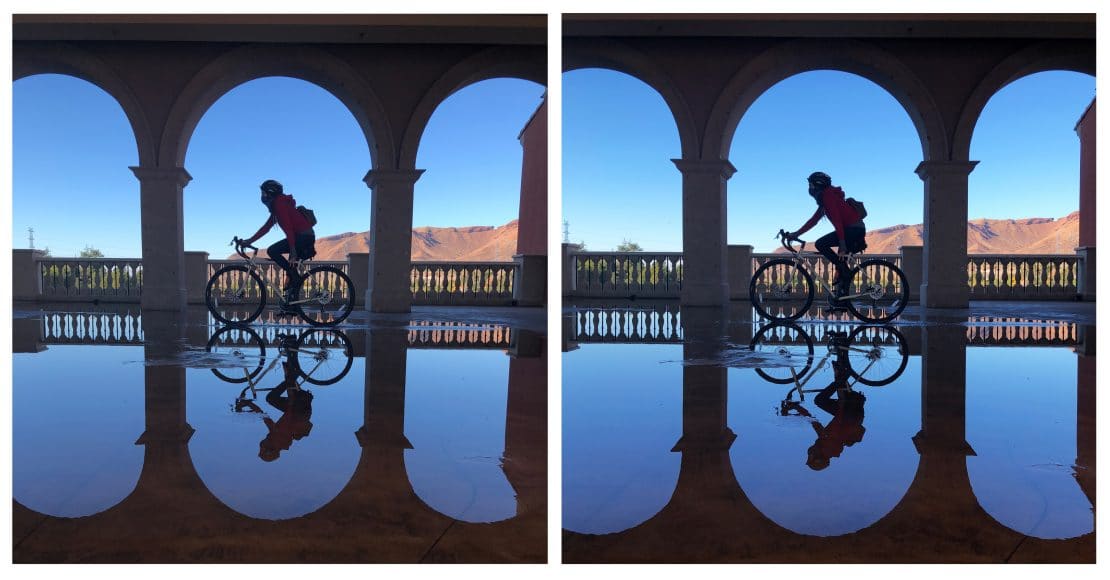
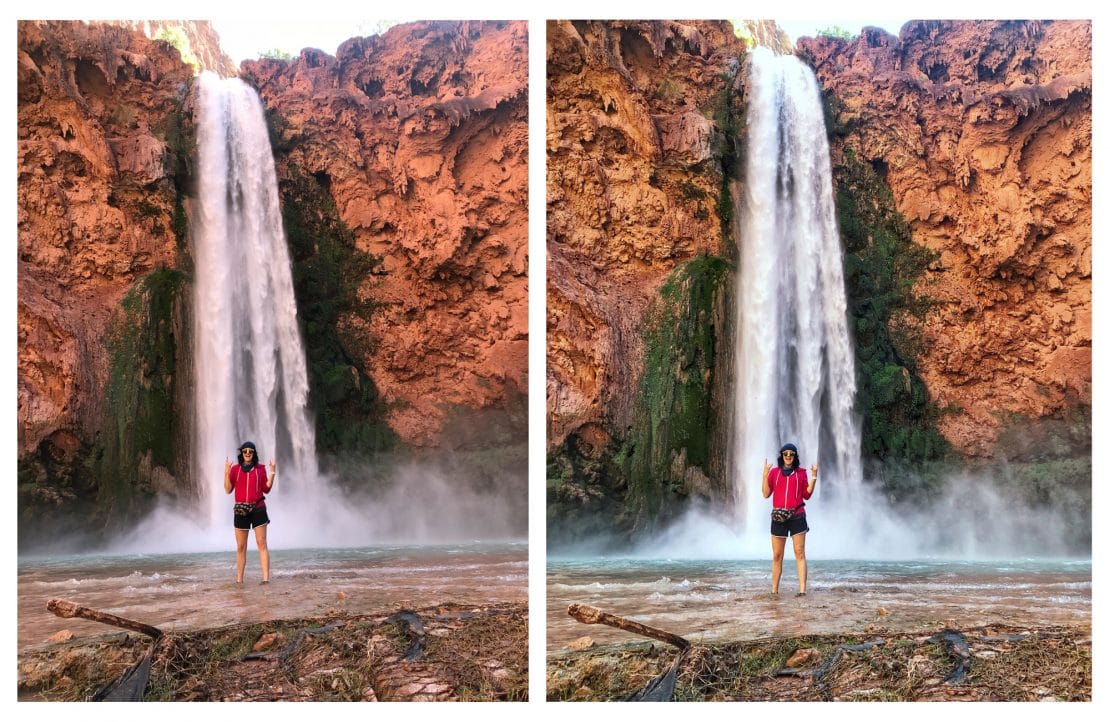
Since we have already introduced you to Snapseed let’s delve a little deeper. Using an app such as this can change your image from amateur photography to professional photography in seconds. With just a few clicks you can adjust exposures, color balance, contrast pretty much all the fun stuff. For a more professional look we like to use the selective tool in Snapseed to really pinpoint our exposure adjustments. This tool will let you select a specific spot in your photo and adjust the exposure, contrast, saturation, and structure in just that designated area on the photo. We find this tool to be super helpful in guiding the eye where we want it to go in a photo. Definitely a step above amateur and makes the cell phone photography have a more professional look. You can see the difference in the image below.
Original image and image edited with Snapseed.
Another way to make your images look more like professional photography is the tune image tool in Snapseed. This can make a huge difference and it only takes seconds to adjust. This tool impacts the whole image, so any adjustments will likewise impact the whole image. I would warn about being too heavy handed on these adjustments or you could find yourself with the opposite outcome. An image that is overly edited or too HDR looking, makes your photography look more amateur. You should use these tools to enhance your photo without making it look like you edited the photo. That is always key in editing professional photography.
Using the Tune Image tool in Snapseed you can adjust the brightness, contrast, saturation, ambiance, highlights, shadow, and warmth. We tend to use ambiance, warmth, and brightness the most. Ambience is one of the settings I would warn against using too much. It can give you an amateur HDR look really quickly if used too much. However a little goes a long way and can really make an image pop. Therefore leaving people thinking a professional photographer must have shot it.
Professional Photography Tips for Breaking the Rules
We love rules, but every once and awhile it’s fun to break the rules. Get creative and play around with your images. You can keep it simple and use a premade filter to get a more professional look, but using the premade filters like the ones in IG, we would once again warn not to get too heavy handed. A little pop can go a long way, too much filter has an air of amateur.
Double it up. They make really fun double exposure apps that can have an artistic effect on your images. Letting you tell an even more in depth story with your imagery. Some people like to mix portraits with nature scenery, but the options are vast.
Professional Photography Tip for Adding Motion
Another super fun app we would like to touch on real quick is Plotagraph. This easy to use app can set your image to the next level of professional photography. If you can call a moving image a photograph. This app actually lets you animate part of your image. For example if you have a nice cloudy day and take a portrait of someone with the clouds. You can leave the person frozen in the portrait but adjust it so the sky moves.
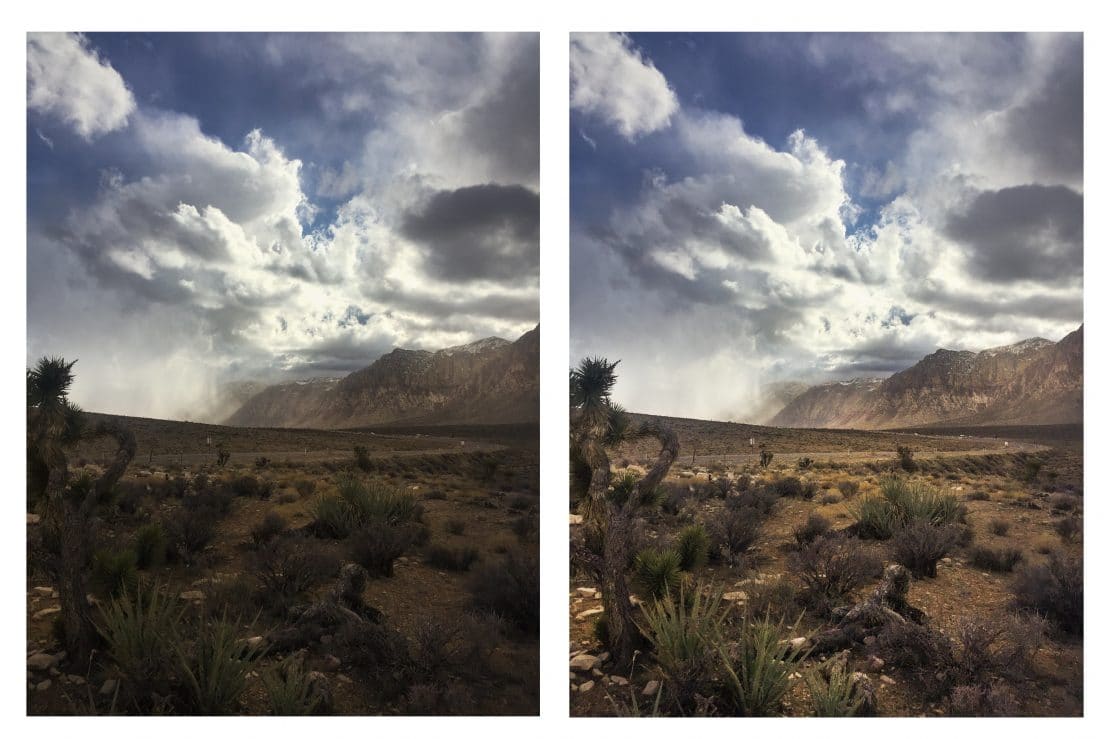
By masking certain areas of the image you can then drop small arrows into the app to show which way the movement should happen. Below we took an iPhone image, added an edit in Snapseed. Adjusting the color balance, brightness and contrast. We then pulled the image into Plotograph. You use a mask to block off any section that you want to remain stationary in the image. After you have the mask in place you can add small arrows to animate the image. The shorter the arrow you add the slower the movement and vice versa, the longer the arrow the quicker the movement. The arrows also control the direction of movement on the image.
Original image and Image edited in Snapseed.
As we have mentioned, there are so many free or inexpensive apps out there nowadays. You should have no trouble finding one that fits your needs. This can help you up your social media game for your business, or perhaps just for you personal use. Either way, implementing any of these quick tips can take your photography from amateur to professional. Just like shooting with a pro camera, we never deliver an image till it’s been edited. So why not add a little edit to your phone images and turn your average photo, into professional photography. Hopefully you found these tips useful. We have included some additional links below should you want to learn more. As professional photographers in Las Vegas, we look forward to seeing your images look like professional photography.
http://fixthephoto.com/free-photo-editing-apps.html
http://www.digitaltrends.com/photography/best-photo-editing-apps/
http://blog.hubspot.com/marketing/good-pictures-phone-tips